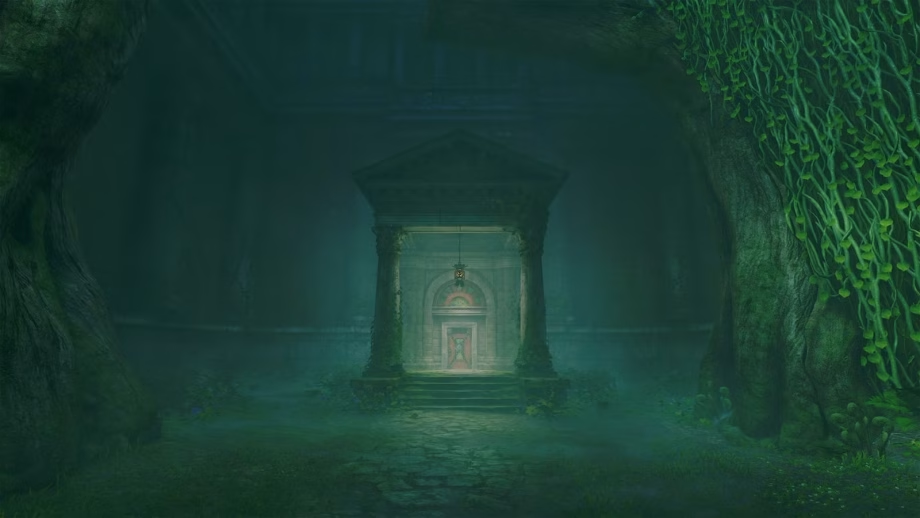
The Forest Temple is the first dungeon you’ll encounter after you travel into the future in The Legend of Zelda: Ocarina of Time remake.
After you grab the Hookshot from the graveyard in Kakariko Village, you’ll make your way over to the Sacred Grove. You’ll learn that Saria has gone inside the temple, and cannot be found. Additionally, you find out that she’s meant to become one of the Sages. It’s up to you to head inside, and save her from the twisty dungeon that is the Forest Temple.
Here’s how to complete the Forest Temple dungeon in Ocarina of Time remake.
Part 1: Finding the dungeon map

As soon as you walk into the Forest Temple, two Wolfos will appear and attack you. Remember that they’re only vulnerable when they’re attacking or if they miss their own attacks. Then, look up the large tree, and you’ll find a Gold Skulltula all the way at the top. To get it, climb onto the branch, and then use your Hookshot to hit it and pull the token back to you. Then, open the chest on the other tree to get a small key, which you can use to open the locked door below.

Unlock the door and head inside, but watch out for the Skulltula that will drop from the ceiling. In the main room, you’ll encounter four colored Poes, who seem to snatch away the fire from the torches at the center of the room. Before you venture off, go up the staircase directly opposite of you. Then, look to the right to find a Gold Skulltula. Use your Hookshot to get its token.

Go inside the door at the top of the stairs, and you’ll encounter a Blue Bubble, which isn’t a bubble, but actually a flying skull. Block it with your shield and then hit it with your sword to defeat it. Continue into the next room, where you’ll find two Stalfos, which look like skeleton warriors. Wait for them to swing their sword, and then go in for the attack. After you defeat them, a chest containing a small key will spawn.

Grab the key and return to the main room. This time, head northwest and you’ll find a large cube. If you interact with it, Navi will tell you that the cube has the same design as the door in the Temple of Time. Play the Song of Time (A – L – R – A – L – R) and the box will disappear.

Head inside the next room, and be careful as there are Deku Babas scattered about. First, turn right to see a wall covered in vines. Use your Hookshot to defeat the Skullwalltulas and climb up to the balcony. Turn around to spot another balcony that has a point that you can Hookshot to, but be careful as there’s a Blue Bubble waiting for you.

Hookshot over and defeat the flying skull. Then, step on the button, which will lower the water in the well below you. Jump inside and follow the path to a chest that contains another small key. Climb up the ladder, and you’ll end up in the northeast room. Hookshot to the target ahead of you, but be weary of the Octorok in the water. Open the chest to get the dungeon map. Exit through the door and step on the button to return to the main room.
Part 2: Getting the Fairy Bow

Unlock the door on the west side of the main room and head inside. In this room, a spotlight will shine down on you. Make sure to roll out of it. A Wallmaster, which looks like a severed hand, will drop down shortly after. Wait for them to fall, and then take them out. Defeat the Wallmaster and the Blue Bubble, and then climb the ladder.

In this room, you’ll find a large cube and arrows on the floor. Your goal is to move the cube along the arrows, so that it falls into a small ditch in the southwest corner of the area. First, pull the cube until it’s resting just on top of the arrows. Then, push it to the end of the hallway. From here, you’ll need to go around and push the cube from the other side, but you’ll find a ladder where the cube once was. Finish pushing the cube into the corner, and then go up the ladder.
In this area, you’ll find another cube. Push it to the end of the hallway. Then, go back to the initial cube that you pushed. Climb onto it and go to the next floor. You’ll find a cube in your path, which is the cube that you just moved. Push it to the end of the hallway, and climb up to the next floor.
Follow the path to the third floor until you reach a room with two Blue Bubbles. Defeat them, and step on the button in the hallway. This will make an elevator appear, but don’t step on it just yet. It’ll take you back down to the entrance, but there’s still more to explore here.

Open the door with your small key, which will lead to a twisty hallway. Walk into the next room, and another spotlight will appear. Either defeat the Wallmaster or quickly hop across the platforms to the next room. Ignore the chest for now, as we’ll be back for that later. Follow the path to the bottom of the staircase, and go inside the room ahead.
In this room, you’ll need to beat three Stalfos, but as a reward, you’ll get the Fairy Bow!


Read Full Article At Source