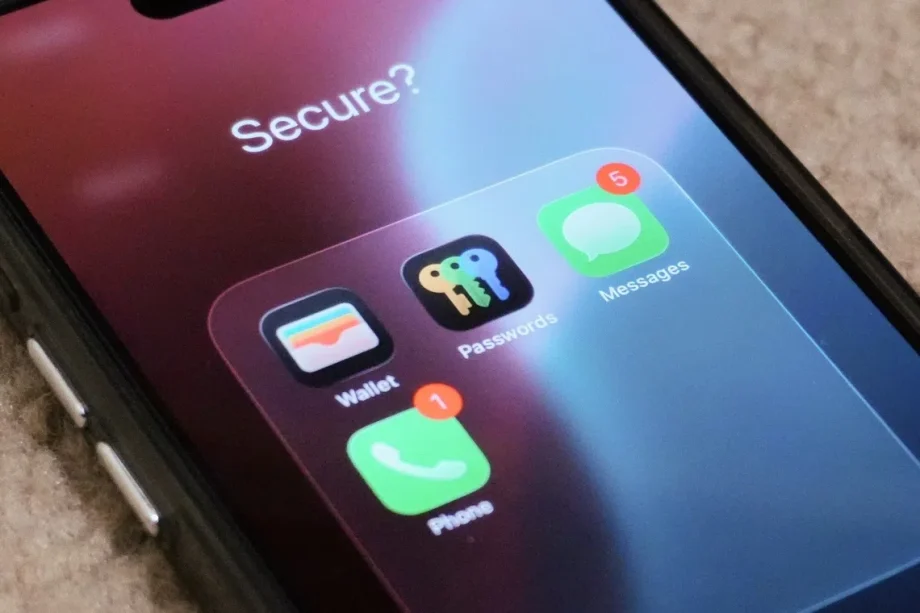
Have an Apple device? Turn on these features to protect yourselves from scams and fraud

Have an Apple device? Turn on these features to protect yourselves from scams and fraud


For Apple, privacy and security are core principles that guide the design of its products, platforms, and services. Built into all of its devices and platforms are features that help protect users’ personal data, reduce exposure to scams, and offer users greater control over their digital lives.

With the release of iOS 26, iPadOS 26, macOS Tahoe, and watchOS 26, Apple has introduced even more tools designed to keep users’ communication, financial information, and personal data secure. From Apple Pay’s fraud prevention technology to features like Hide My Email and Call Screening, Apple’s integrated approach ensures that safety and privacy are easily accessible to users and practical to use.

In this article, we have a look at how these features can help users to safeguard their personal information and hopefully prevent scams and fraudulent transactions from occurring.

  1. 1. Apple Pay
  2. 2. iCloud Private Relay 
  3. 3. Hide My Email
  4. 4. Call and Message screening
  5. 5. Apple Passkeys
  6. 6. Stolen Device Protection

1. Apple Pay

Apple Pay Wallet Set-up for bank cards.

Apple Pay will work with most bank cards you link it with.

Photo: HWZ

Originally launched in 2014, Apple Pay has quietly grown into one of Apple’s most effective security tools. While most people know it for its convenience, the payment service has also played a major role in reducing fraudulent transactions.

According to Jennifer Bailey, Apple’s Vice President of Apple Pay and Wallet, Apple Pay has helped prevent more than US$1 billion in fraudulent credit and debit card transactions in the past year. Based on the company’s internal data and figures from industry partners, fraud rates on Apple Pay were reported to be over 60% lower than traditional card swipes, and in some cases, the reduction can reach as high as 85% to 90%.

The reason Apple Pay is so effective is thanks to its security-focused design. Every transaction uses a device-specific number and a unique, one-time transaction code. This ensures that your actual card number is never shared with merchants, nor is it stored by Apple.

Each payment also requires authentication through Face ID, Touch ID, or your passcode, which makes it difficult for anyone else to authorise a transaction on your device. It’s worth mentioning that Face ID has less than one in a million chance that a random person can unlock your device with their face. Moreover, the payment data is encrypted from end to end during processing, which prevents scammers from intercepting any sensitive information.

Setting up Apple Pay in wallets app.

You can also set a bank card to be your main travel card.

Photo: HWZ

If you aren’t using Apple Pay, consider using it now. To start, open the Wallet app and add your debit or credit card. Then you can use Apple Pay for your next purchase.

To set it up, open the Wallet app and tap the plus icon in the top right corner. Follow the on-screen instructions to add your card. The next time you need to pay with your card, choose Apple Pay instead. This allows you to enjoy a more secure and protected payment experience every time you pay.

2. iCloud Private Relay 

Screengrab of iCloud Private Relay function within the Settings app.

Browse more anonymously with iCloud Private Relay.

Photo: HWZ

iCloud Private Relay is one of the main privacy features you get with an iCloud+ subscription. Its job is to keep your internet browsing private by encrypting the data that leaves your device and by hiding your IP address, which is normally used to track who you are and where you’re browsing from.

When you visit a website in Safari, your data is sent through two different relays. The first relay is run by Apple and can only see your IP address. The second Relay is run by a third party and can only see the website you’re trying to visit. Because no single company can see both pieces of information, it becomes much harder for advertisers, data brokers, or even your internet provider to follow your online activity or build a profile about you.

Another benefit of Private Relay is that it also hides your DNS requests. In essence, it hides the list of websites you look up, further providing an extra layer of security so no one can peek at what you’re doing online.

If you want to enable iCloud Private Relay, go to your Apple ID settings, tap iCloud, scroll down until you see iCloud+ features, and turn on Private Relay.

This feature is available on iPhone, Macs, and iPads.

3. Hide My Email

Screengrab of Hide My Email feature from iCloud+

Useful for when you don’t want to give out your official email.

Photo: HWZ

The second iCloud+ feature worth mentioning is Hide My Email, and it’s precisely what it sounds like. Instead of giving websites or apps your real email address, Apple lets you create random, unique email aliases that forward everything to your actual inbox.

This can be particularly useful for newsletter sign-ups, free trials, online shopping, or any service that you don’t fully trust. If one of these aliases starts getting spammed or the service undergoes a data breach, your actual email remains safe. Furthermore, you can always turn the alias off to ensure you are no longer associated with the compromised email.

Hide My Email can be managed under the iCloud settings or automatically used when signing up for new services with the “Sign in with Apple” feature. You can have a look at all the different aliases currently in use within the iCloud settings tab, and you can even label each alias so you’ll know exactly which website leaked or misused your info.

This feature is available on iPhone, Macs, and iPads.

4. Call and Message screening

The latest Call and message screening functions introduced in iOS 26.

Useful for those who seem to get plenty of spam calls and messages.

Photo: HWZ

In iOS 26, Apple added Call Screening and on-device spam protection in Messages to help cut down scam calls and spam texts. Call Screening now forces unknown callers to state their name and reason before your phone even rings. You’ll even get to see the recorded message and then decide if you want to pick up. This can be useful in knowing which calls you should answer and which to ignore.

As for messages, your iPhone can now filter unknown senders and spam into separate folders using on-device processing, so nothing is sent to Apple’s servers. If a message is wrongly marked as spam, you can easily move it back and mark the sender as known.

To enable these protections, go to Settings, apps, Messages, and turn on Screen Unknown Senders and Filter Spam.

For Call Screening protection, head to Settings, Phone and enable Call Screening. Once switched on, your iPhone will automatically filter spam texts, sort unknown messages into separate folders, and screen calls from unfamiliar numbers.

5. Apple Passkeys

Sign in Via Pass Key screengrab.

Popular sites like Google and Facebook allow for Passkeys to be used for sign in.

Photo: HWZ

Apple’s Passkeys are basically the next-gen replacement for passwords, and they’re an upgrade in both convenience and security.

Instead of relying on passwords that can be guessed, stolen, or leaked, Passkeys use a pair of cryptographic keys – one public, and one private. The public key is stored by the website or app, while the private key remains securely on your device. To learn more about how passkeys work, check out this article.

When a user signs in, authentication is performed using Face ID or Touch ID, meaning there is no need to manually type or remember a password. Because the private key never leaves your device and cannot be intercepted, it is nearly impossible for hackers or scammers to steal your credentials through phishing or data breaches.

Passwords app on iPhone showcasing amount of Passkeys made.

Check out which application utilises Passkey sign ins via the Passwords app.

Photo: HWZ

To use Passkeys, go to the sign-in page of a supported service on your iPhone. If you’re creating a new account, tap the sign-up button and follow the steps onscreen. If you already have an account, sign in normally with your username and password, then head to your account settings. When the option to save a passkey appears, tap continue, and your iPhone will store it for you.

If you don’t see a passkey option, that means that the app or service does not support it yet. You can head over to the passwords app to see all your saved passkeys.

This feature is available on iPhone, Macs, and iPads.

6. Stolen Device Protection

Apple Stolen Device Protection

Photo: Apple

Introduced last year with iOS 17.3, Stolen Device Protection is a feature that prevents your passcode from being changed too easily. This feature was introduced after a rise in iPhone thefts involving compromised passcodes. This guide, which we wrote last year, details why passcodes are so important and how thieves make use of them to steal your phone and commit fraud.

Briefly put, Stolen Device Protection makes it difficult for thieves to change your passcode. When it’s activated, it does these things:

  • Whenever you are not at a location that is commonly associated with you, biometric authentication (Face ID or Touch ID) will be required to change your Apple ID password.
  • In addition to this, there’s a one-hour security delay where you’ll need to scan your face or fingerprint again to confirm the change. 
  • This also applies to adding new faces to Face ID, new fingerprints to Touch ID, and disabling Find My iPhone.
  • The one-hour security delay is not applied if you are at a familiar location, such as home and work.

This makes it extra tricky for someone to change your passcode and gain access to your phone. One thing to note is that Stolen Device Protection is not enabled by default. To turn it on, go to Face ID & Passcode in the Settings app, and scroll down to find Stolen Device Protection.

Click here to know more about Stolen Device Protection.

What more can you do?

Apple encourages users to stay vigilant and recognise signs of potential scams. Warning signs include emails or texts from unfamiliar senders claiming to represent official organisations, requests for personal or financial details, links that appear suspicious or slightly misspelt, or messages that create a false sense of urgency. Legitimate companies will never ask for passwords, verification codes, or payment details through unsolicited messages or other insecure methods of communication.

If you suspect that you’ve received a phishing email or scam message, Apple provides dedicated reporting channels. Users can forward phishing attempts to reportphishing@apple.com or report suspicious FaceTime communications to reportfacetimefraud@apple.com. In the Messages app, users can tap Report Junk or Report Spam to notify Apple directly and block the sender. When in doubt, it is always safer to ignore the message and contact the organisation through official customer support channels.


Read Full Article At Source